The Trial Is Your Best Sales Tool
A free trial is your chance to show a prospective student and their parent exactly what learning with you looks like. Tutors who prepare well, teach with energy, and follow up promptly convert far more trials into long-term students. This guide shares the steps that consistently work.
Step 1: Prepare Before the Trial
Preparation is the single biggest factor in converting a trial. Before the session:
- Read the lead details. Check the student's curriculum, grade, subject, and any notes about what they need help with.
- Message the student or parent beforehand. Introduce yourself, confirm the time, and ask what they'd most like to focus on in the trial.
- Plan a focused 60 minutes. Pick one topic the student is struggling with so they leave the trial having actually learned something.
- Test your setup. Check your camera, microphone, internet, and whiteboard tools so the session runs smoothly.

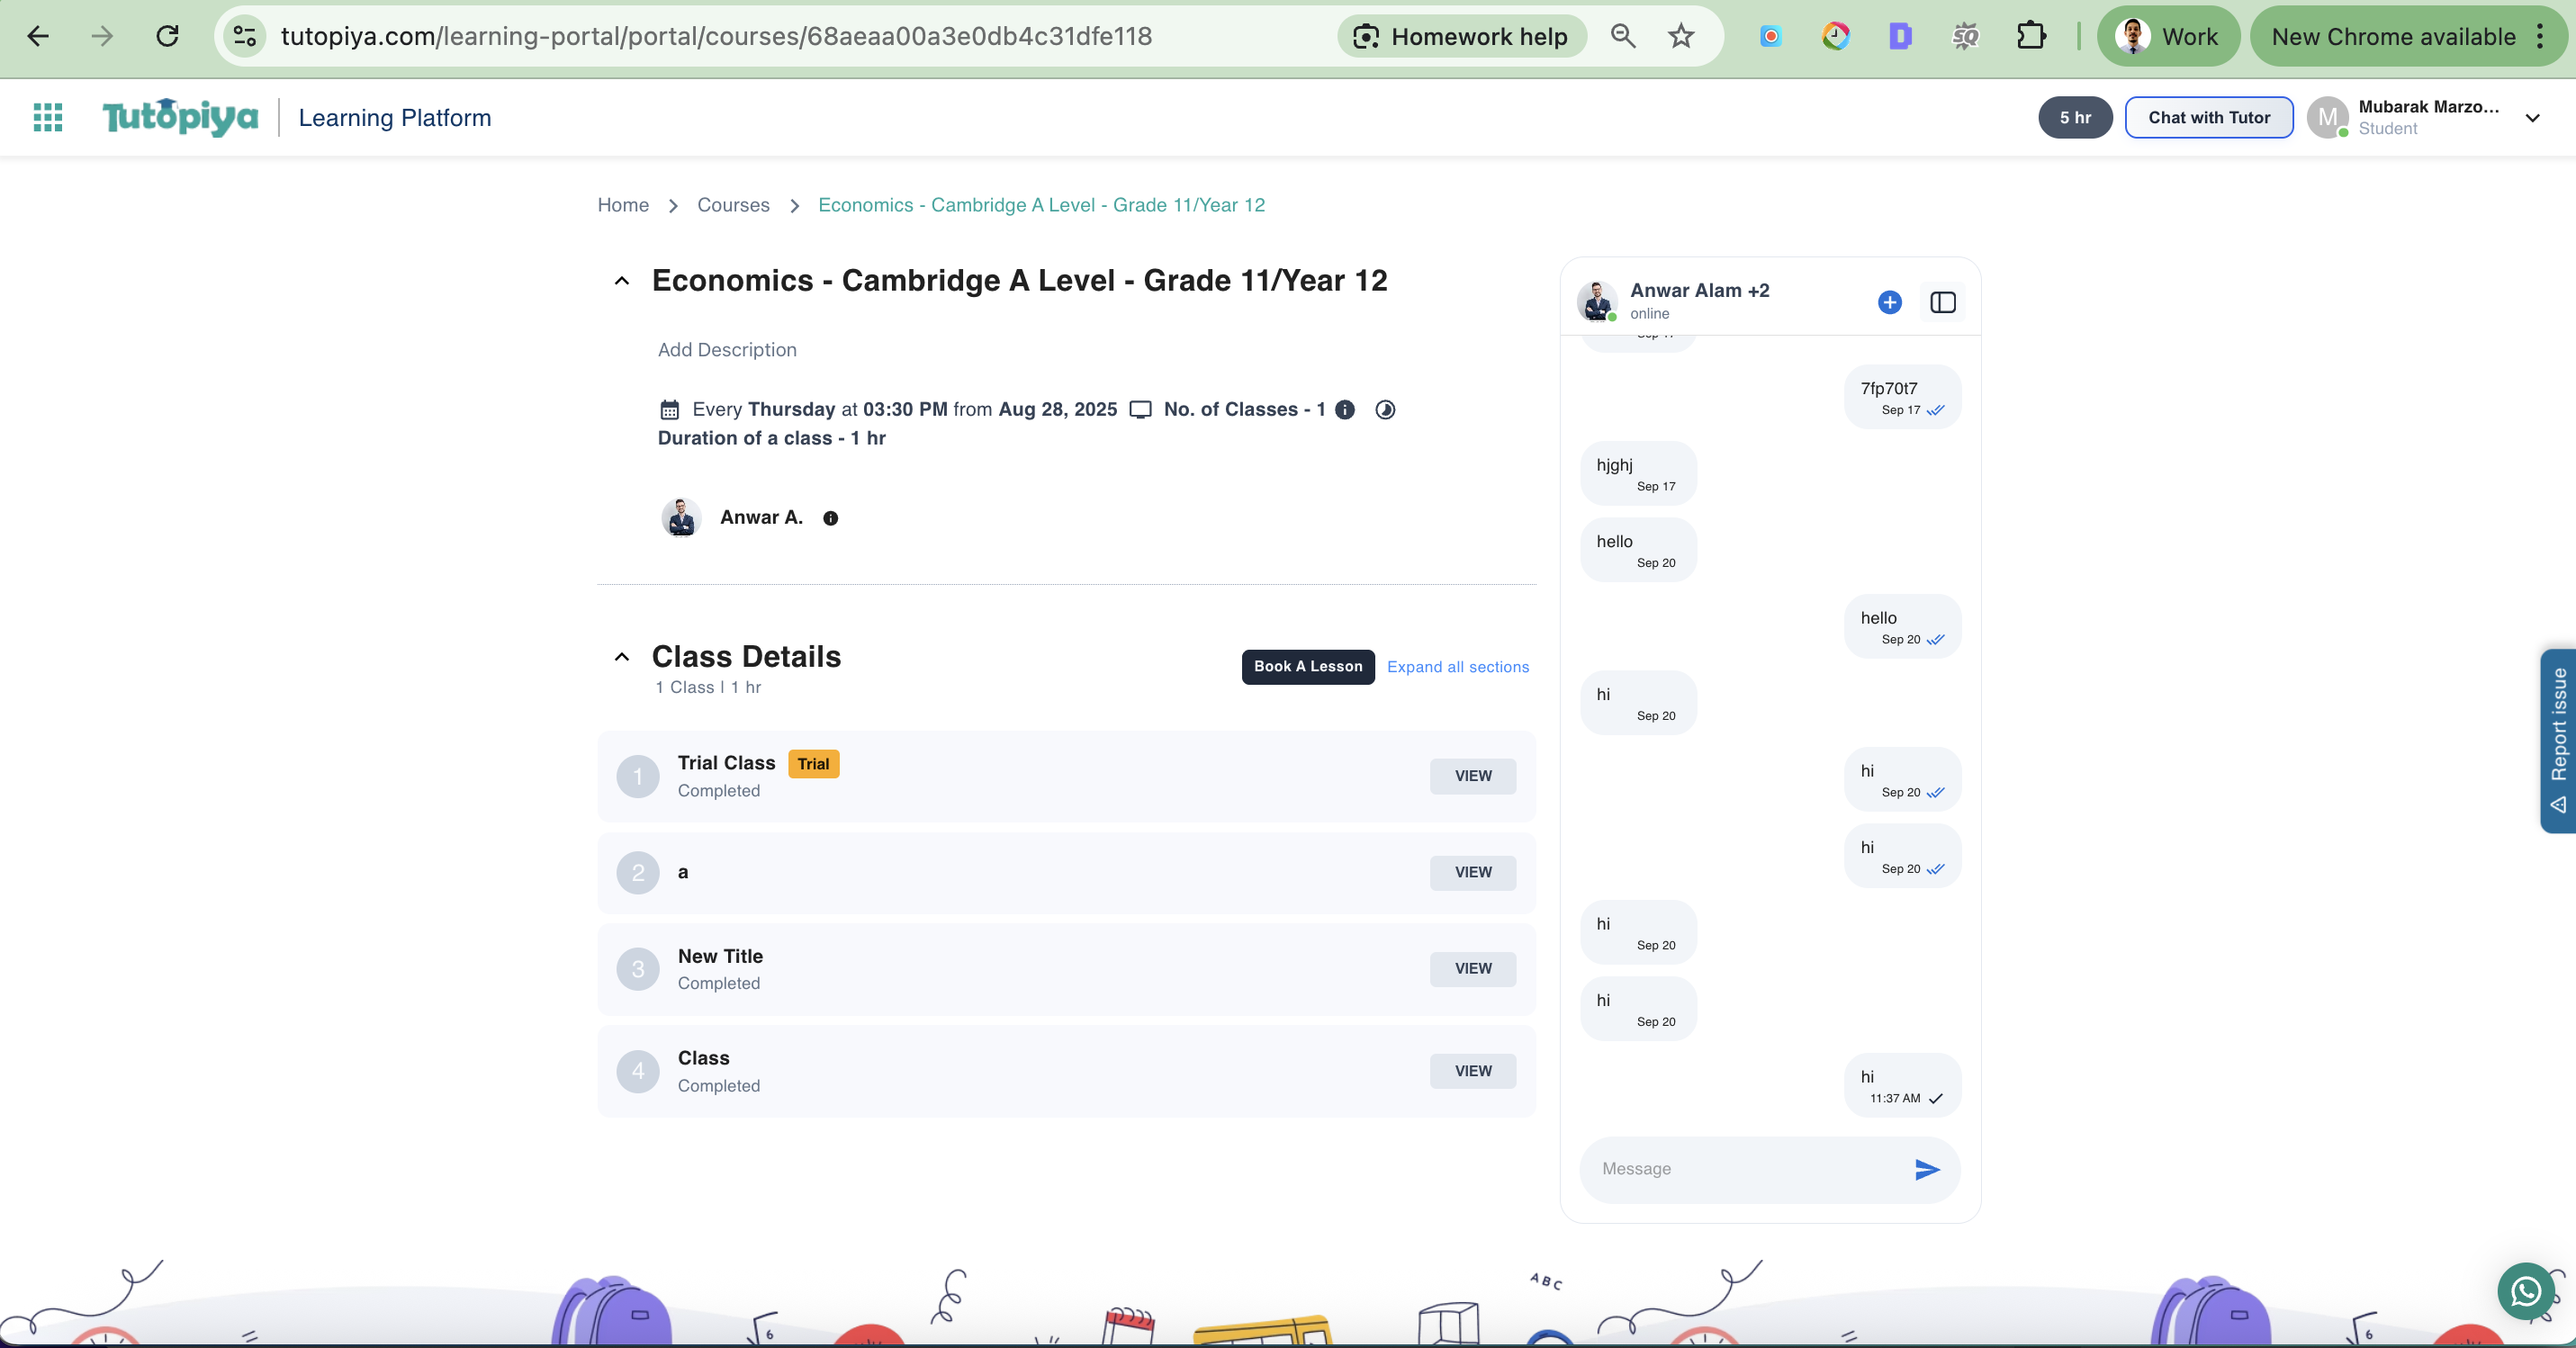
Chat Interface: Reach out before the trial to understand the student's goals and build rapport
Step 2: Deliver a Great Trial Class
During the trial, your goal is for the student to feel understood and to make visible progress:
- Start with a quick diagnosis. Spend a few minutes finding out where the student is and what they find difficult.
- Teach one thing well. Help them understand or solve something they couldn't before — this is the "aha" moment that sells.
- Be warm and encouraging. Confidence and a positive tone matter as much as subject expertise, especially for younger students.
- Involve the parent if present. A short summary at the end of what you covered reassures parents they're making a good decision.
Step 3: Share a Clear Learning Plan
At the end of the trial, summarise what you observed and recommend a path forward. A simple plan makes enrolling an easy "yes":
Where they are now
Briefly note the student's current level and main gaps
What you'll work on
List the topics or skills you'd cover over the next few weeks
Suggested frequency
Recommend how many sessions per week will help them reach their goal
Step 4: Follow Up Promptly
Don't wait for the student to come back to you. Send a friendly follow-up message within a day of the trial:
- Thank them for attending and recap what you covered.
- Share the learning plan and answer any questions about packages or pricing.
- Offer two or three time slots so booking the first regular class is effortless.
Chat Interface: Follow up with a clear plan and concrete time options to make enrolling easy
Step 5: Help Them Enrol and Book the First Class
Once the student decides to continue, make the transition seamless. Confirm their package with them, then book the first regular class so there's momentum after the trial.
Course Page: Use "Book a Lesson" to schedule the first regular class for your new student
Need the full booking steps? See our guide on how to book a class for your student.
Quick tips that boost conversions
- Reply to new trial leads as fast as possible — speed signals reliability.
- Keep your availability up to date so students can lock in a regular slot.
- End every trial with a clear next step, not an open-ended "let me know".
Need a hand converting your leads?
Our support team can share more tips and help you make the most of your trial classes.